
Saturday, April 23, 2011
Updated case...
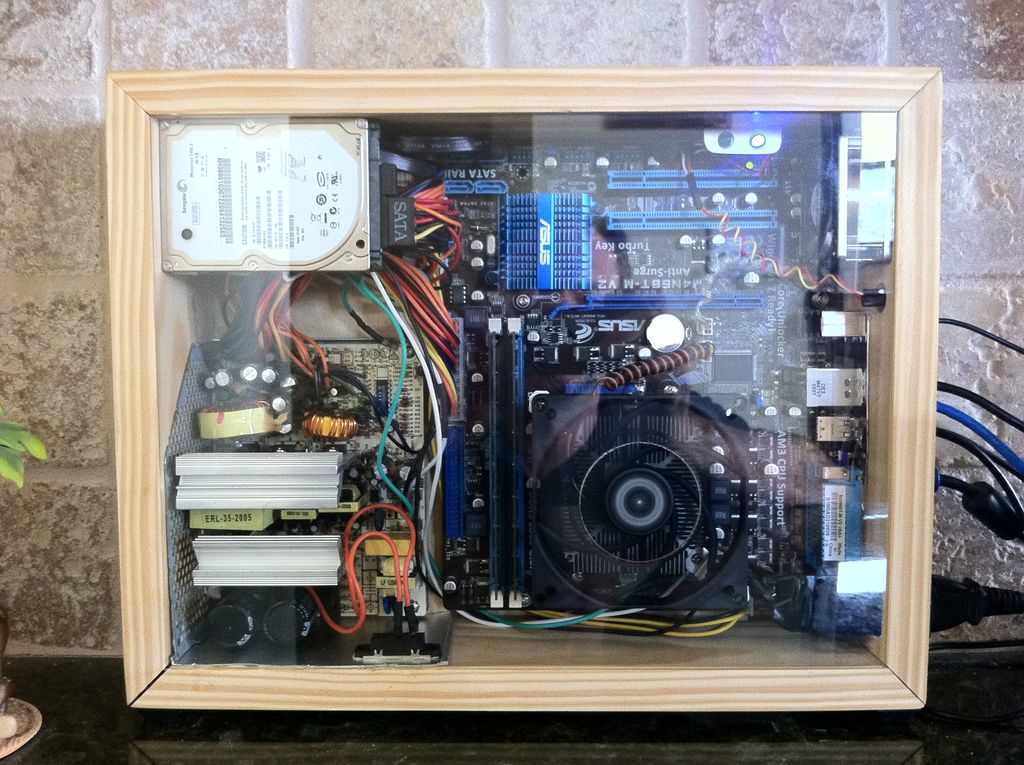
But, in true ghetto fashion, I extracted the fan and made a mount for the stock heat sink and bolted the new fan on it. Works... sorta. The new fan fits and solved my sound problem. I went from 45db with the stock cooler to 39db - which is just a little over ambient noise for the kitchen.
But now, the idle heat temp is 33 (Celsius) and quickly goes to 40+ when you have any processes going on. This is no where near the temperature limits of the CPU, I just like to have my temps down as low as possible - especially since this is a wood case!
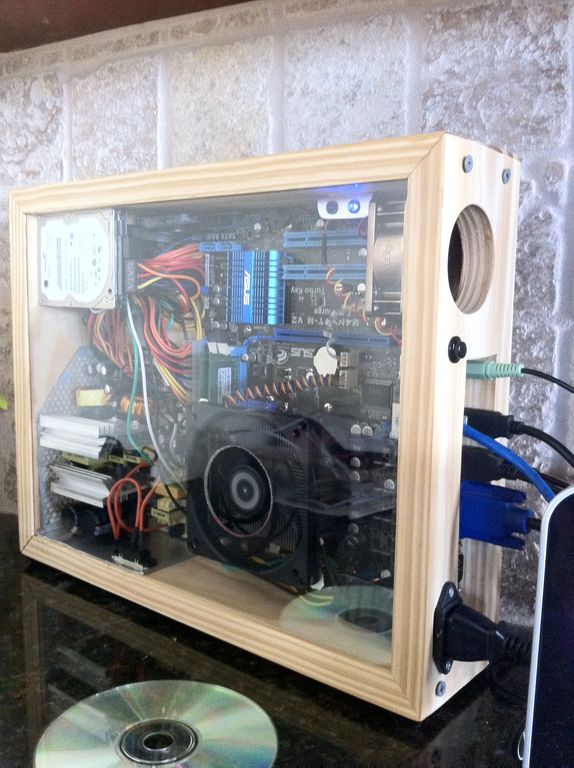
I also added a power switch to the back access panel and I made a small aluminum tab to mount my power and hard drive LEDs to. You can see them in the upper right hand corner behind the case fan. Blue for power and green for the hard drive... I think it looks nice...
Next... some sort of stain maybe and a better cooling hear sink.
First things first
 Started out by cutting the board. Used a table saw to cut a blade width slot for the plexiglass and to cut a slot for the ply-board backing.
 Once all four side were complete, I cut the plyboard to size and fixed three sides in place with glue and trim nails. The fourth side will be used to access the inside of the case. I drew out the points that needed to be removed (power connector, I/O ports, Fan) and then will be mounted it in place with four wood screws.
The plexiglass was difficult to cut. I am surprised I was able to cut a hole for the fan at all... usually the plexiglass breaks if you try to cut it with power tools. I got lucky on my first go around.
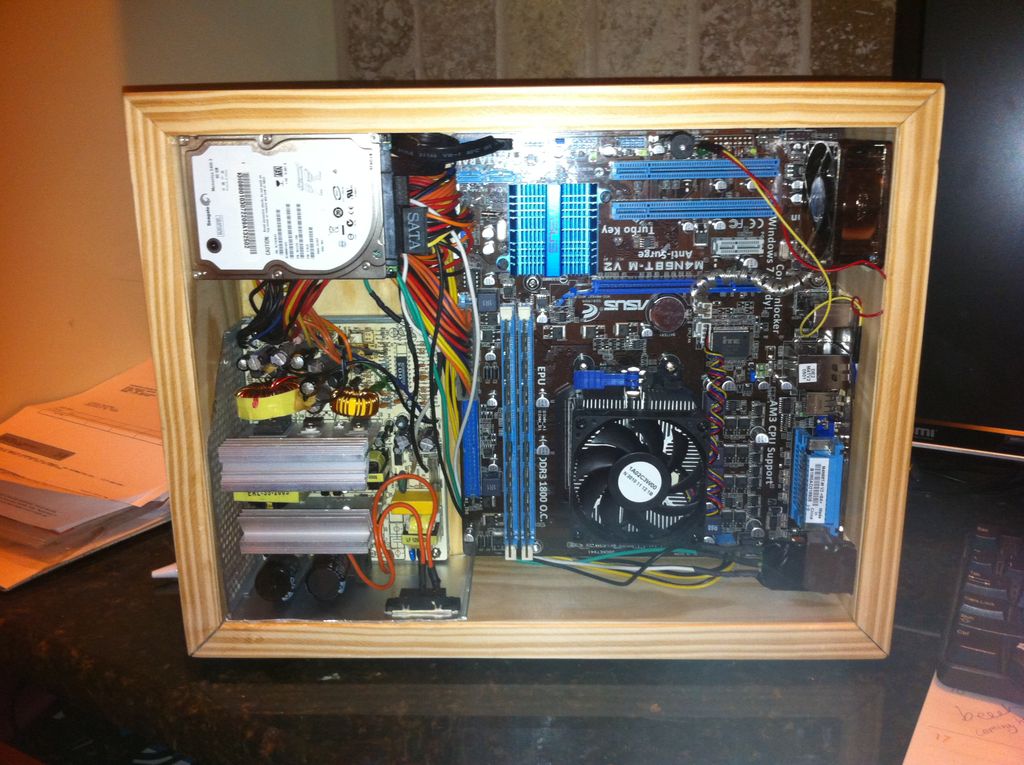
Once the case was complete, I added the power supply and main board tray to the back of the ply-board with screws and bolts. The bottom side of the power supply is simply glued in. The hard drive is mounted on a L shaped piece of wood and secured in place with heavy duty double stick tape. This will keep the drive secure and will create a padding that will keep it from vibrating the case.
Parts list:
Computer:
- AMD Phenom II X4 840
- Asus M4A78LT-M LE mATX
- Crucial 4GB DDR3 PC1600 RAM
- 500 watt power Antec supply
- 80Gb 2.5" SATA drive
Case:
- 3/4" x 4" pine board
- 2' x 2' x 1/8" plyboard (for the back)
- 20" x 18" plexiglass
- Aluminum from old case for power supply housing and LED mount
- 2 x 5mm LED lights
- Momentary switch for power button
- donor wire from old case and power cord
- Gorilla glue
- Trim nails
Subscribe to:
Posts (Atom)